
 Deutsch
 Englisch
 Französisch
 Spanisch

COLOURLOCK Leather Glue Repair Set

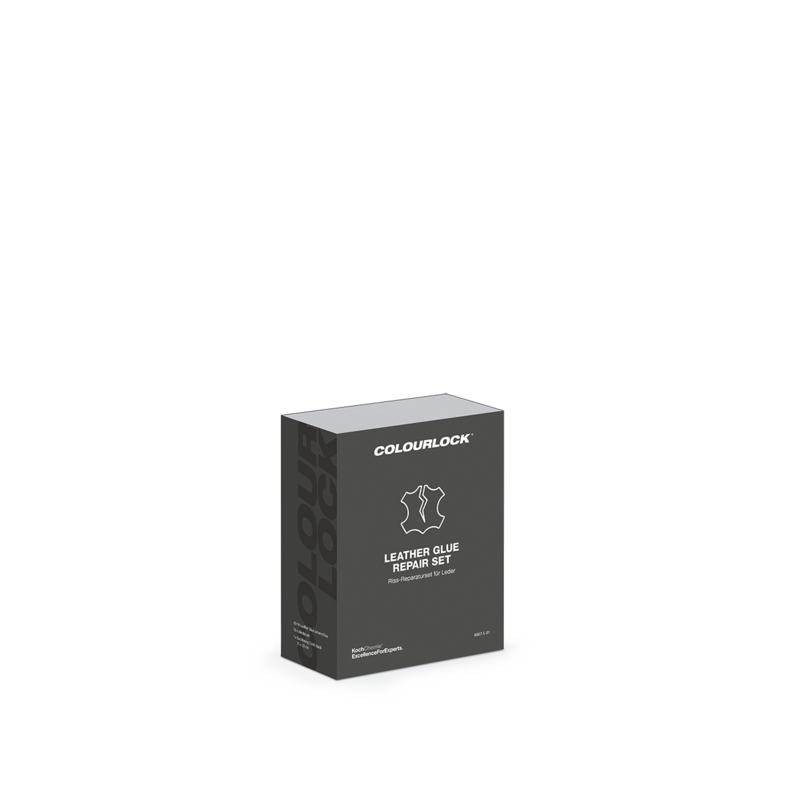


Item No. 8807-S-01
COLOURLOCK COLOURLOCK Leather Glue Repair Set
Leather Crack Repair Kit
Includes leather adhesive, application brush, and backing fabric
Includes leather adhesive, application brush, and backing fabric
Share COLOURLOCK Leather Glue Repair Set